Have you ever needed a piping bag and not had a ready made one to hand.
Here I show you how easy and quick it is to make your own piping bags.
A little bit of practice and you will be making these with ease.
Steve’s Kitchen, is FREE consider Becoming a Patreon we Love our Patreons, they keep the show Rolling
Or send some Love through PayPal every little helps.. ❤
How to make Your Own piping Bag
Prep Time: 2 Minutes
Ingredients
- 1 Square of Baking Paper
For products we use in this video visit Here
Watch the full Video Tutorial
Instructions
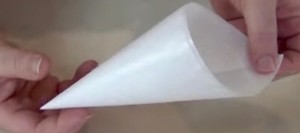
- Pull a strip of baking paper out of the box and take one corner and fold it over onto the paper to form a large triangle. Press firmly on the crease.
Use a sharp blade and cut along the fold. - As you now have a diagonal cut left on the roll of baking paper you might as well fold it to form another triangle, cut along the fold and make another icing bag.
- Now take the first triangle and have the long side of the triangle facing your body.
Take hold of the right corner and allow the paper to roll as you bring it up to the top corner.
Then take the left corner and wrap it around the cone you have made so all three corners are together at the top.
Gently ease the corners together so that the pointed end is tight with no hole visible. - Fold the three corners over on each other. Either tape together or make two small tears and fold the tab in the opposite direction so the bag holds together.
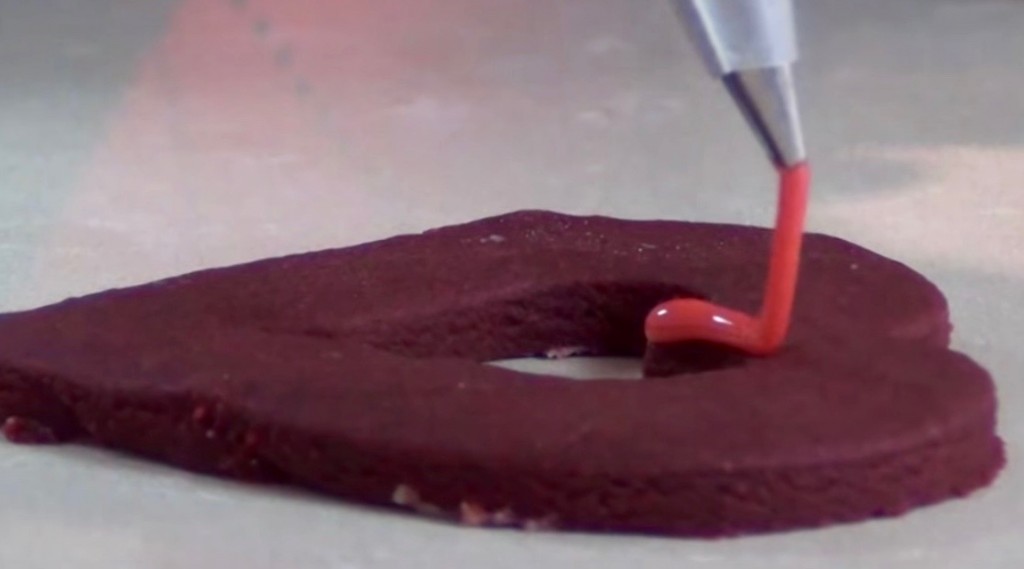
Now you can use a piping tip, you just need to snip off the end of the bag so the tip pokes through. - Or you can use the bag without a tip, in this case you would fill the bag with icing before you snipped off the end. This stops your icing running away when you fill the bag. Now your piping bags are ready to use. Have Fun!!!


Pingback: MAKE YOUR OWN PIPING BAG - Homemade Icing Bag - Food videos and recipes
Pingback: MAKE YOUR OWN PIPING BAG - Homemade Icing Bag - Instructions News
Pingback: MAKE YOUR OWN PIPING BAG – Homemade Icing Bag – Hunarkaari