
After making my own caramel I was looking to see what I could make with it. I love Twix Bars so I thought it might be cool to make my own.
OK, It might not be the slimmest Twix in the world but then whilst the Corporate’s are downsizing for more profits why should we?
I love this recipe it is so tasty.
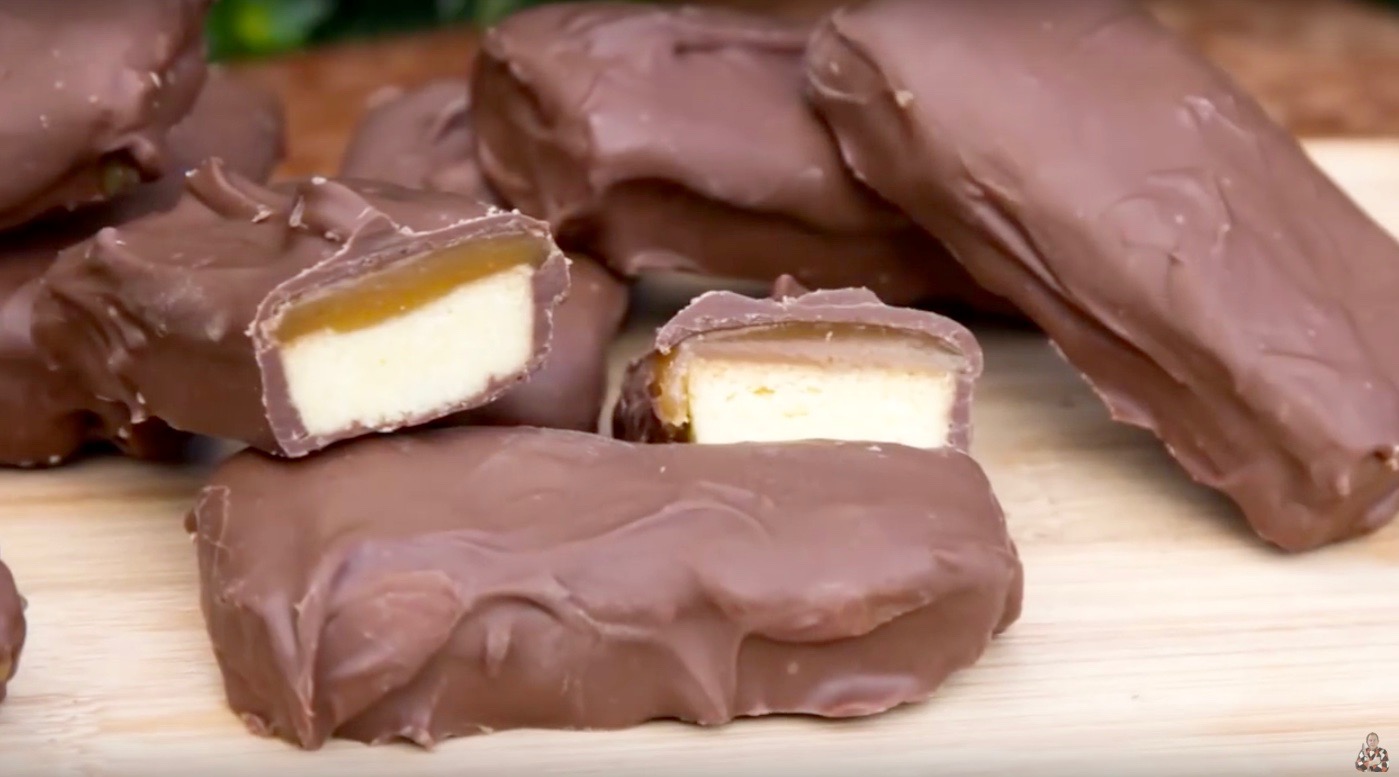
Twix

Steve’s Kitchen, is FREE consider Becoming a Patreon we Love our Patreons, they keep the show Rolling
Or send some Love through PayPal every little helps.. ❤
How to make Your Own Twix Bar
Prep Time: 20 Minutes
Ingredients
- 16-20 Shortbread Fingers
- 300g / 10.5 oz of Caramels
- 2 tablespoons of Thick Cream
- 375g / 13 oz of Melting Chocolate
- 1 tablespoon of Coconut Oil
I used a 9 inch / 23cm Square Baking Tray
For products we use in this video visit Here
Watch the full Video Tutorial
Instructions
- Coat the baking tin with a little bit of butter and line with baking paper. Allow the paper to stand higher than the sides of the tin as this makes it easier to remove later.
- Lay the shortbread finger biscuits side by side in the tin. I decided to lay them upside down as they were a tighter fit in the tin.
- Place the cream in a small saucepan and add the caramels. Gently heat on the stove, stirring until the caramels have melted.
Once the caramel is thick and smooth, pour over the shortbread biscuits. Use a spatula to spread it over the biscuits and make it nice and level.
Place in the fridge to set firm. - Place the chocolate melts into a bowl and gently melt them over a saucepan with a little water in the bottom.Once melted add the coconut oil to the chocolate and stir through until melted.
- Remove the tin from the fridge and gently pull the baking paper out of the tin to remove the caramel coated biscuits.
Using the biscuits as a guide, cut though the caramel to separate each biscuit. Keep them close together for the next step.
Use a pastry brush to paint the chocolate onto the biscuit side of the Twix.
Allow the chocolate to set. Once set, cut through the chocolate to separate the biscuits again. - To coat the rest of the Twix I set up chopsticks over the baking tin and place the biscuits on these. This allows any excess chocolate to be collected in the tin Use a spoon to pour the chocolate over the biscuits and allow it to drip over the edge to coat the sides too.
Allow to set one last time and your Twix Bars are ready to be enjoyed.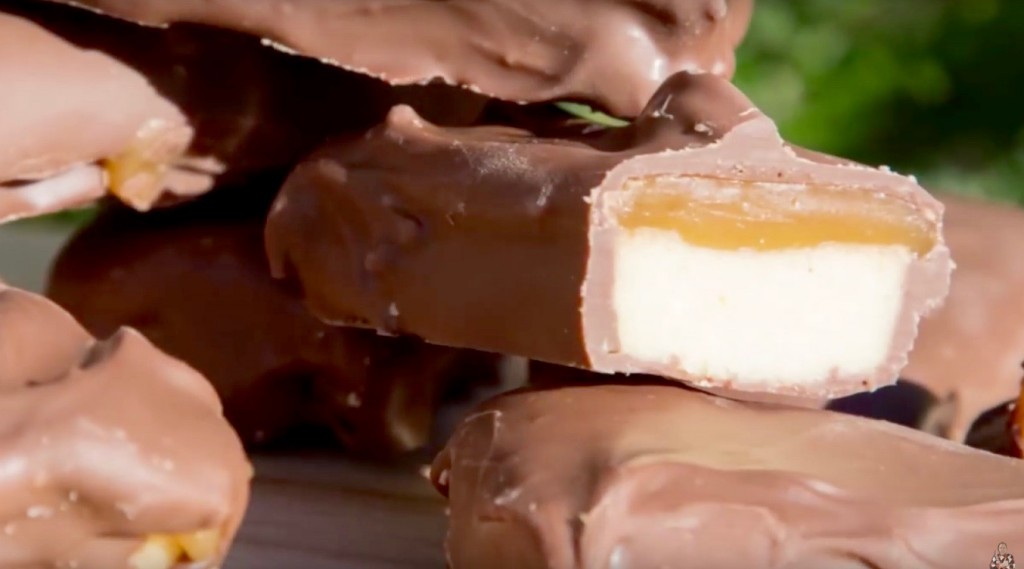
Twix


