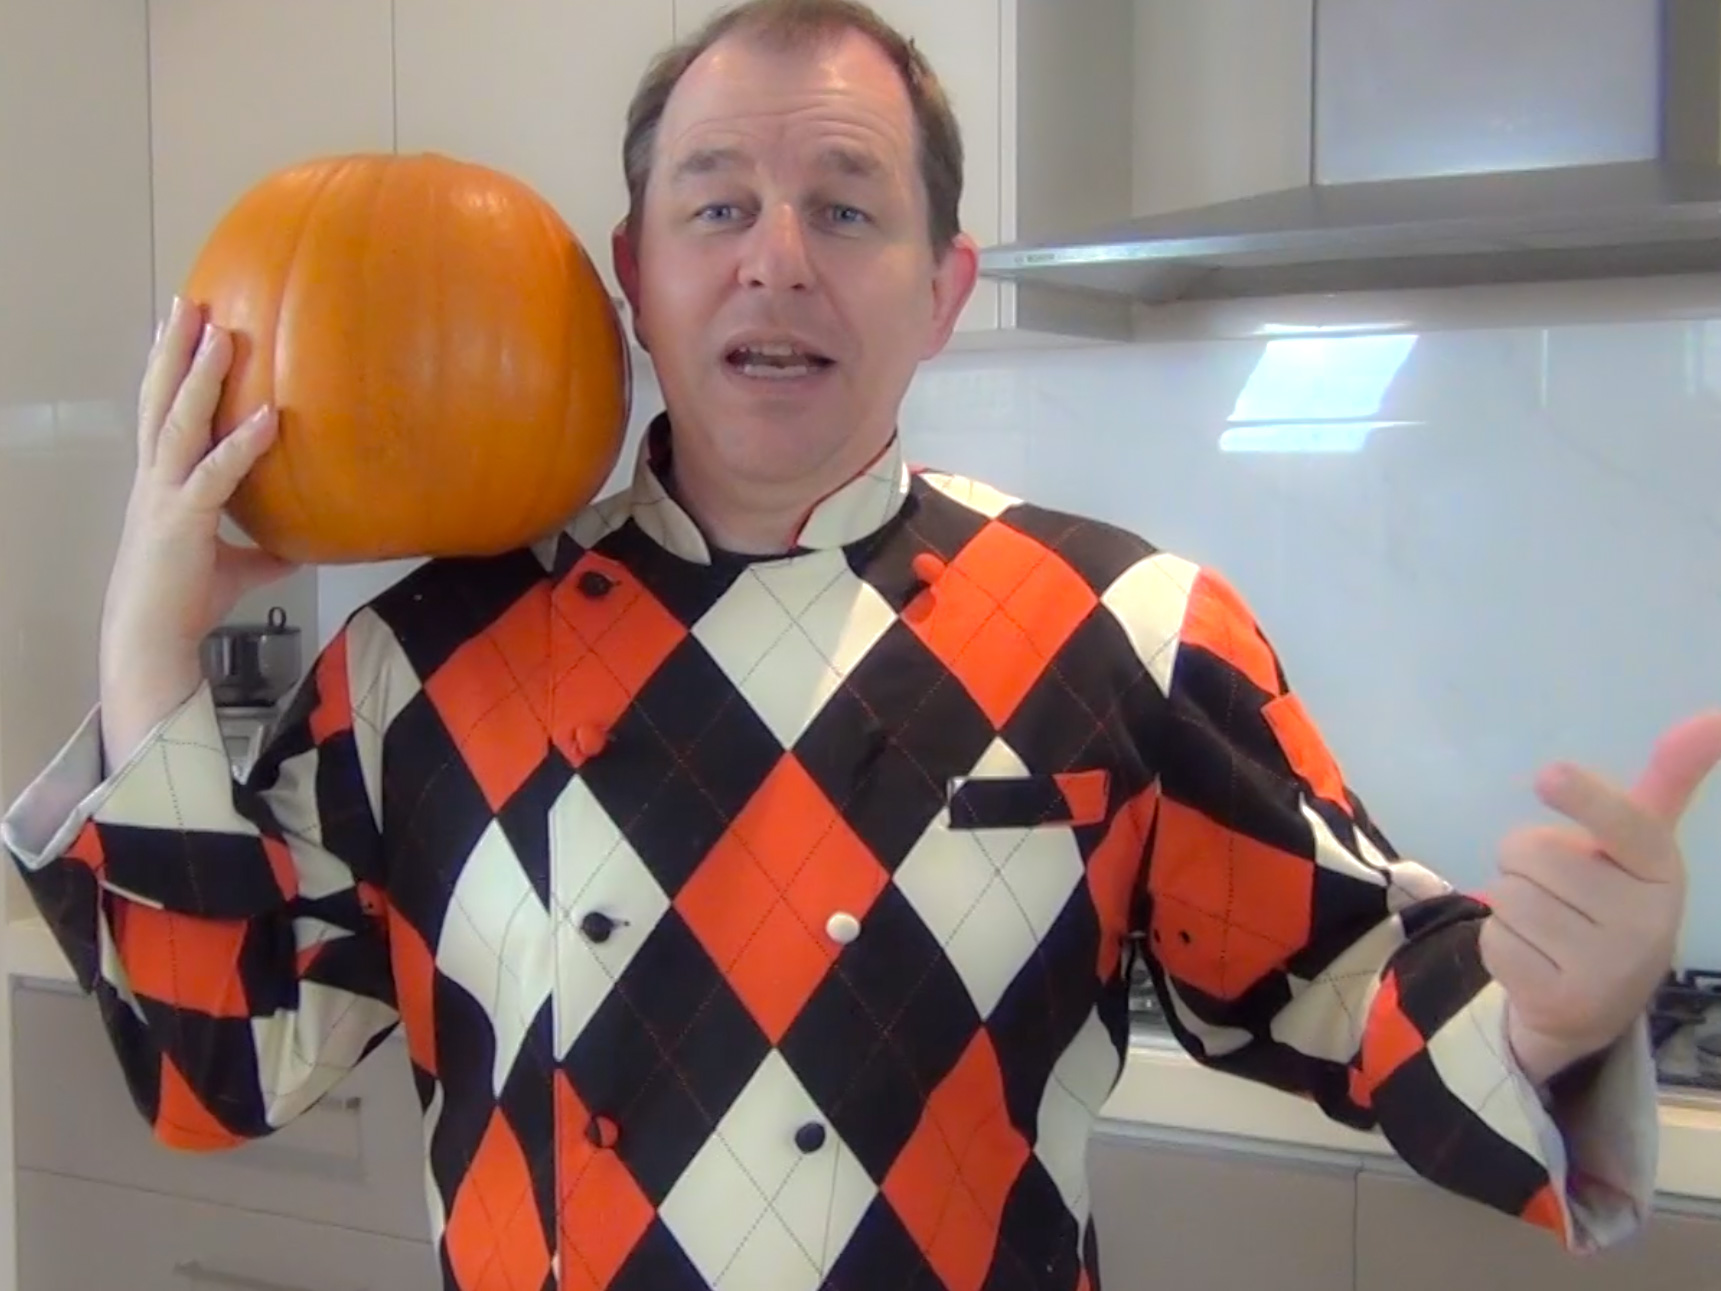
OK you’ve got the pumpkin, the kids are ready but……. what to do next?
It’s not difficult to do and in this video I give you some tips on how to carve pumpkins with ease.
Come on kids let’s get started!!! And don’t forget to roast those seeds too as they are really delicious!
Here is the link for some great template designs
http://steves-kitchen.com/?p=2386

Carve a Pumpkin

Steve’s Kitchen, is FREE consider Becoming a Patreon we Love our Patreons, they keep the show Rolling
Or send some Love through PayPal every little helps.. ❤
Prep Time: 30 minutes
Oven Temperature: 180’C /350’F
Cook Time: 15-20 minutes
Ingredients
- 1 Nicely shaped Pumpkin
- 1 candle or Tealight
For the pumpkin Seeds
- 1/2 a tablespoon of Oil
- 1/2 a teaspoon of Salt
- 1/2 a teaspoon of Paprika
For products we use in this video visit Here
Watch the full Video Tutorial
Instructions
- To make the lid, take a sharp knife and cut a circle around the stalk. Make the lid big enough to allow you to get inside the pumpkin.
Also cut at an angle so when you pop the lid back on it doesn’t just fall in. Once you have cut a complete circle gently remove the lid. Slice any excess off the lid so it fits neatly back on top. - Keep any of the flesh that you remove as it is great to turn into pumpkin puree which can be frozen for use at a later date.
Remove the seeds and once agin keep them to one side for roasting later. Use an ice cream scoop or spoon to scrape out the excess flesh from the inside of the pumpkin. Be careful not to take away too much flesh and make the walls of the pumpkin too thin.
- Now is the time to choose the best side of your pumpkin to carve.
For your design you can use a template, which is best to print out on paper and then you can use sticky tape to attach it to your pumpkin. Then using a pin you can follow the lines of your design and make little pin pricks which you will be able to see once you remove the paper.
Or if you are feeling creative you can draw the design straight on to the pumpkin free hand. Don’t use a permanent marker, use something that you can rub off after you have finished carving.
- To cut out your design, you can either use a small flexible knife which you gently insert into the pumpkin and slowly cut along the lines you have drawn. Or I tend to use a little hobby saw or serrated knife and ‘saw’ my way along the lines.
The key to carving the design is to take your time and make little cuts, pushing the pieces out as you go. - A great tip to help preserve your pumpkin for longer (as they do tend to deteriorate the longer they are exposed to the air) is to soak the pumpkin in a mild bleach solution. Just a cap full of bleach in a bucket of water for 5 minutes.
And another tip is to rub vaseline / petroleum jelly on all the exposed edges.
- Pop a small lighted candle or tea light inside the pumpkin, replace the lid and your pumpkin is ready for Halloween.
To Roast the pumpkin Seeds.
- Pre heat the oven to 180’C / 350’F. First rinse the seeds to remove any sinew or flesh and pat them dry.
- Pop the seeds in a bowl with the oil, salt and paprika and mix to coat the seeds thoroughly.
Lay the seeds out on a baking tray and place them in the oven for 15 to 20 minutes until they are golden brown. - Remove the tray from the oven and allow the seeds to cool slightly. Pour them into a dish and serve. Yum Yum!!
Have a Happy Halloween and Remember to share the Video or Post with your friends on Facebook and YouTube.

